Creating A Silver Ring, Carving A Wax By Hand

Creating A Silver Ring, Carving A Wax By Hand

My commission to handmake a corset inspired ring lended itself perfectly to a wax carving which could then be cast in Silver.

The piece started as a block of wax with a hole through it which I opened out to the required finger size using a wax ring sizer. This has a blunt blade along the stick capable of scraping wax out from the inside.
From then on the basic shape was carved using files, burrs and dentist tools- carefully refining the shape as I continued.

Once I was happy with my final result I chose to have a cold mold made as reassurance incase the casting process failed thus destroying my wax model. The wax was then used to be cast in silver.

The silver ring then went through a polishing process using emery paper of different grades and the final polish on the polishing motor to give its shine.

Picture

So you can see the final result and the work that went into it, I really enjoyed making this ring.

Feel free to add any comments below or click through to Facebook, Twitter or Pinterest using the links below, add some comments and follow me there.

Handmade Rabbit Pendant

Handmade Rabbit Pendant

Recently I was asked to make a rabbit pendant of a much loved pet which had sadly passed away.I was given this photo so I got to work to design a few alternative ideas.

10390210_10155013175795317_6604331022747434791_n     sketches

My design ideas for the pendant included a more realistic interpretation of the photograph given as well as more stylized ideas including dark coloured stones such as black diamonds or dark blue/black sapphires to represent the black colour of the rabbit. I was reluctant to use a standard bail for the pendant to hang from the chain. Rather boring I thought! The photo to me lent itself for a hole to go through the ear and I love the result. It allows more movement when worn and I like the way the chain hangs between both ears.
Below is the process of my wax carving using many needle files, a few burrs and a lot of dental tools…. as well as a lot of patience, this is a slow process.

As you can see this has been a very personal piece made for my client, no one else will have this one off pendant. If you would like something similar please send me an email with a couple of photos and we can start designing your own piece of jewellery from there. Alternatively come and follow me on Facebook, Twitter, Pinterest or Instagram.

Happy New Year, thank you for all your support

I would like to thank everyone who has helped me to to have a fantastic year. I have had the privilege of making some of my favourite pieces to date.

Happy New Year everyone, here’s to 2015

Making a 14ct white gold, diamond and topaz engagement ring

Making a 14ct white gold, diamond and topaz engagement ring

Have you struggled to find an engagement ring you are 100% happy with?
A customer of mine had a white gold and diamond engagement ring, it was a nice design but just not what she had always wanted. Then, when out shopping she found just the stone to go in her engagement ring!
We then went on the task to design a ring to include the existing diamond and the new topaz stone. It was then handmade into this simple one off piece of jewellery.
Visit my library of previous bespoke pieces of jewellery for more ideas Handmade jewellery commissions.

Picture

The original ring is on the left and the ring with the new topaz stone is on the right.The new ring has to sit in between the existing wedding and eternity rings.
A straight band was the main part of the brief.

Picture

Picture

After some initial sketches a more realistic CAD image was created.
You can see how the stones are set high in a rub over setting to sit above the existing rings.

Picture

Picture

Picture

Picture

The stones were removed from the original rings and the gold melted into a molton blob.
Picture
The metal is then slowly rolled through a rolling mill into this rectangular shape for the ring’s band and the 3 settings.

Picture

The settings were then soldered onto the band and sent off the assay office to be hallmarked.

Picture

Once the ring was hallmarked the ring was given a pre-polish and then the stones were set into the ring.Then a final polish and below is the final result showing the engagement ring sat next to the wedding and eternity rings!

Picture

Picture
Picture
Below is a slide show of the process if you would like to follow my channel on YouTube.
The 4 C’s, Which Diamond Should I Choose For My Handmade Jewellery?

The 4 C’s, Which Diamond Should I Choose For My Handmade Jewellery?

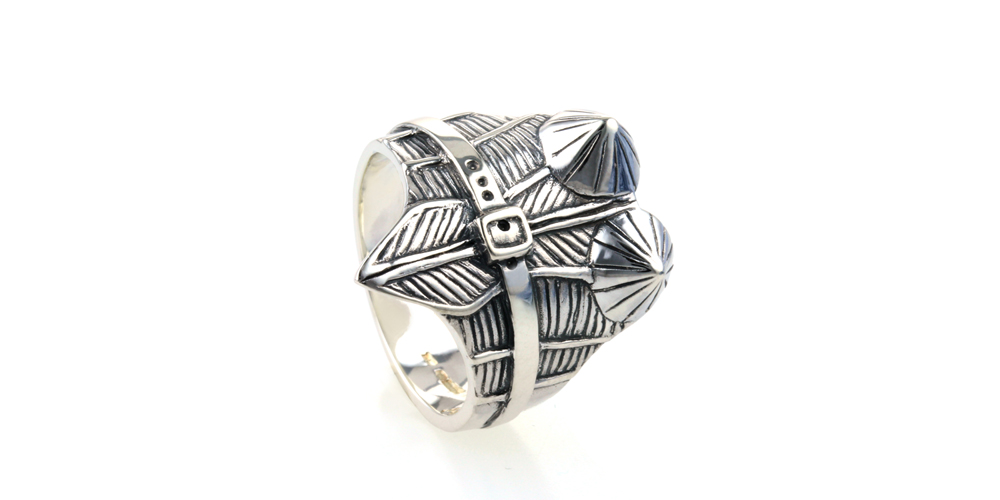
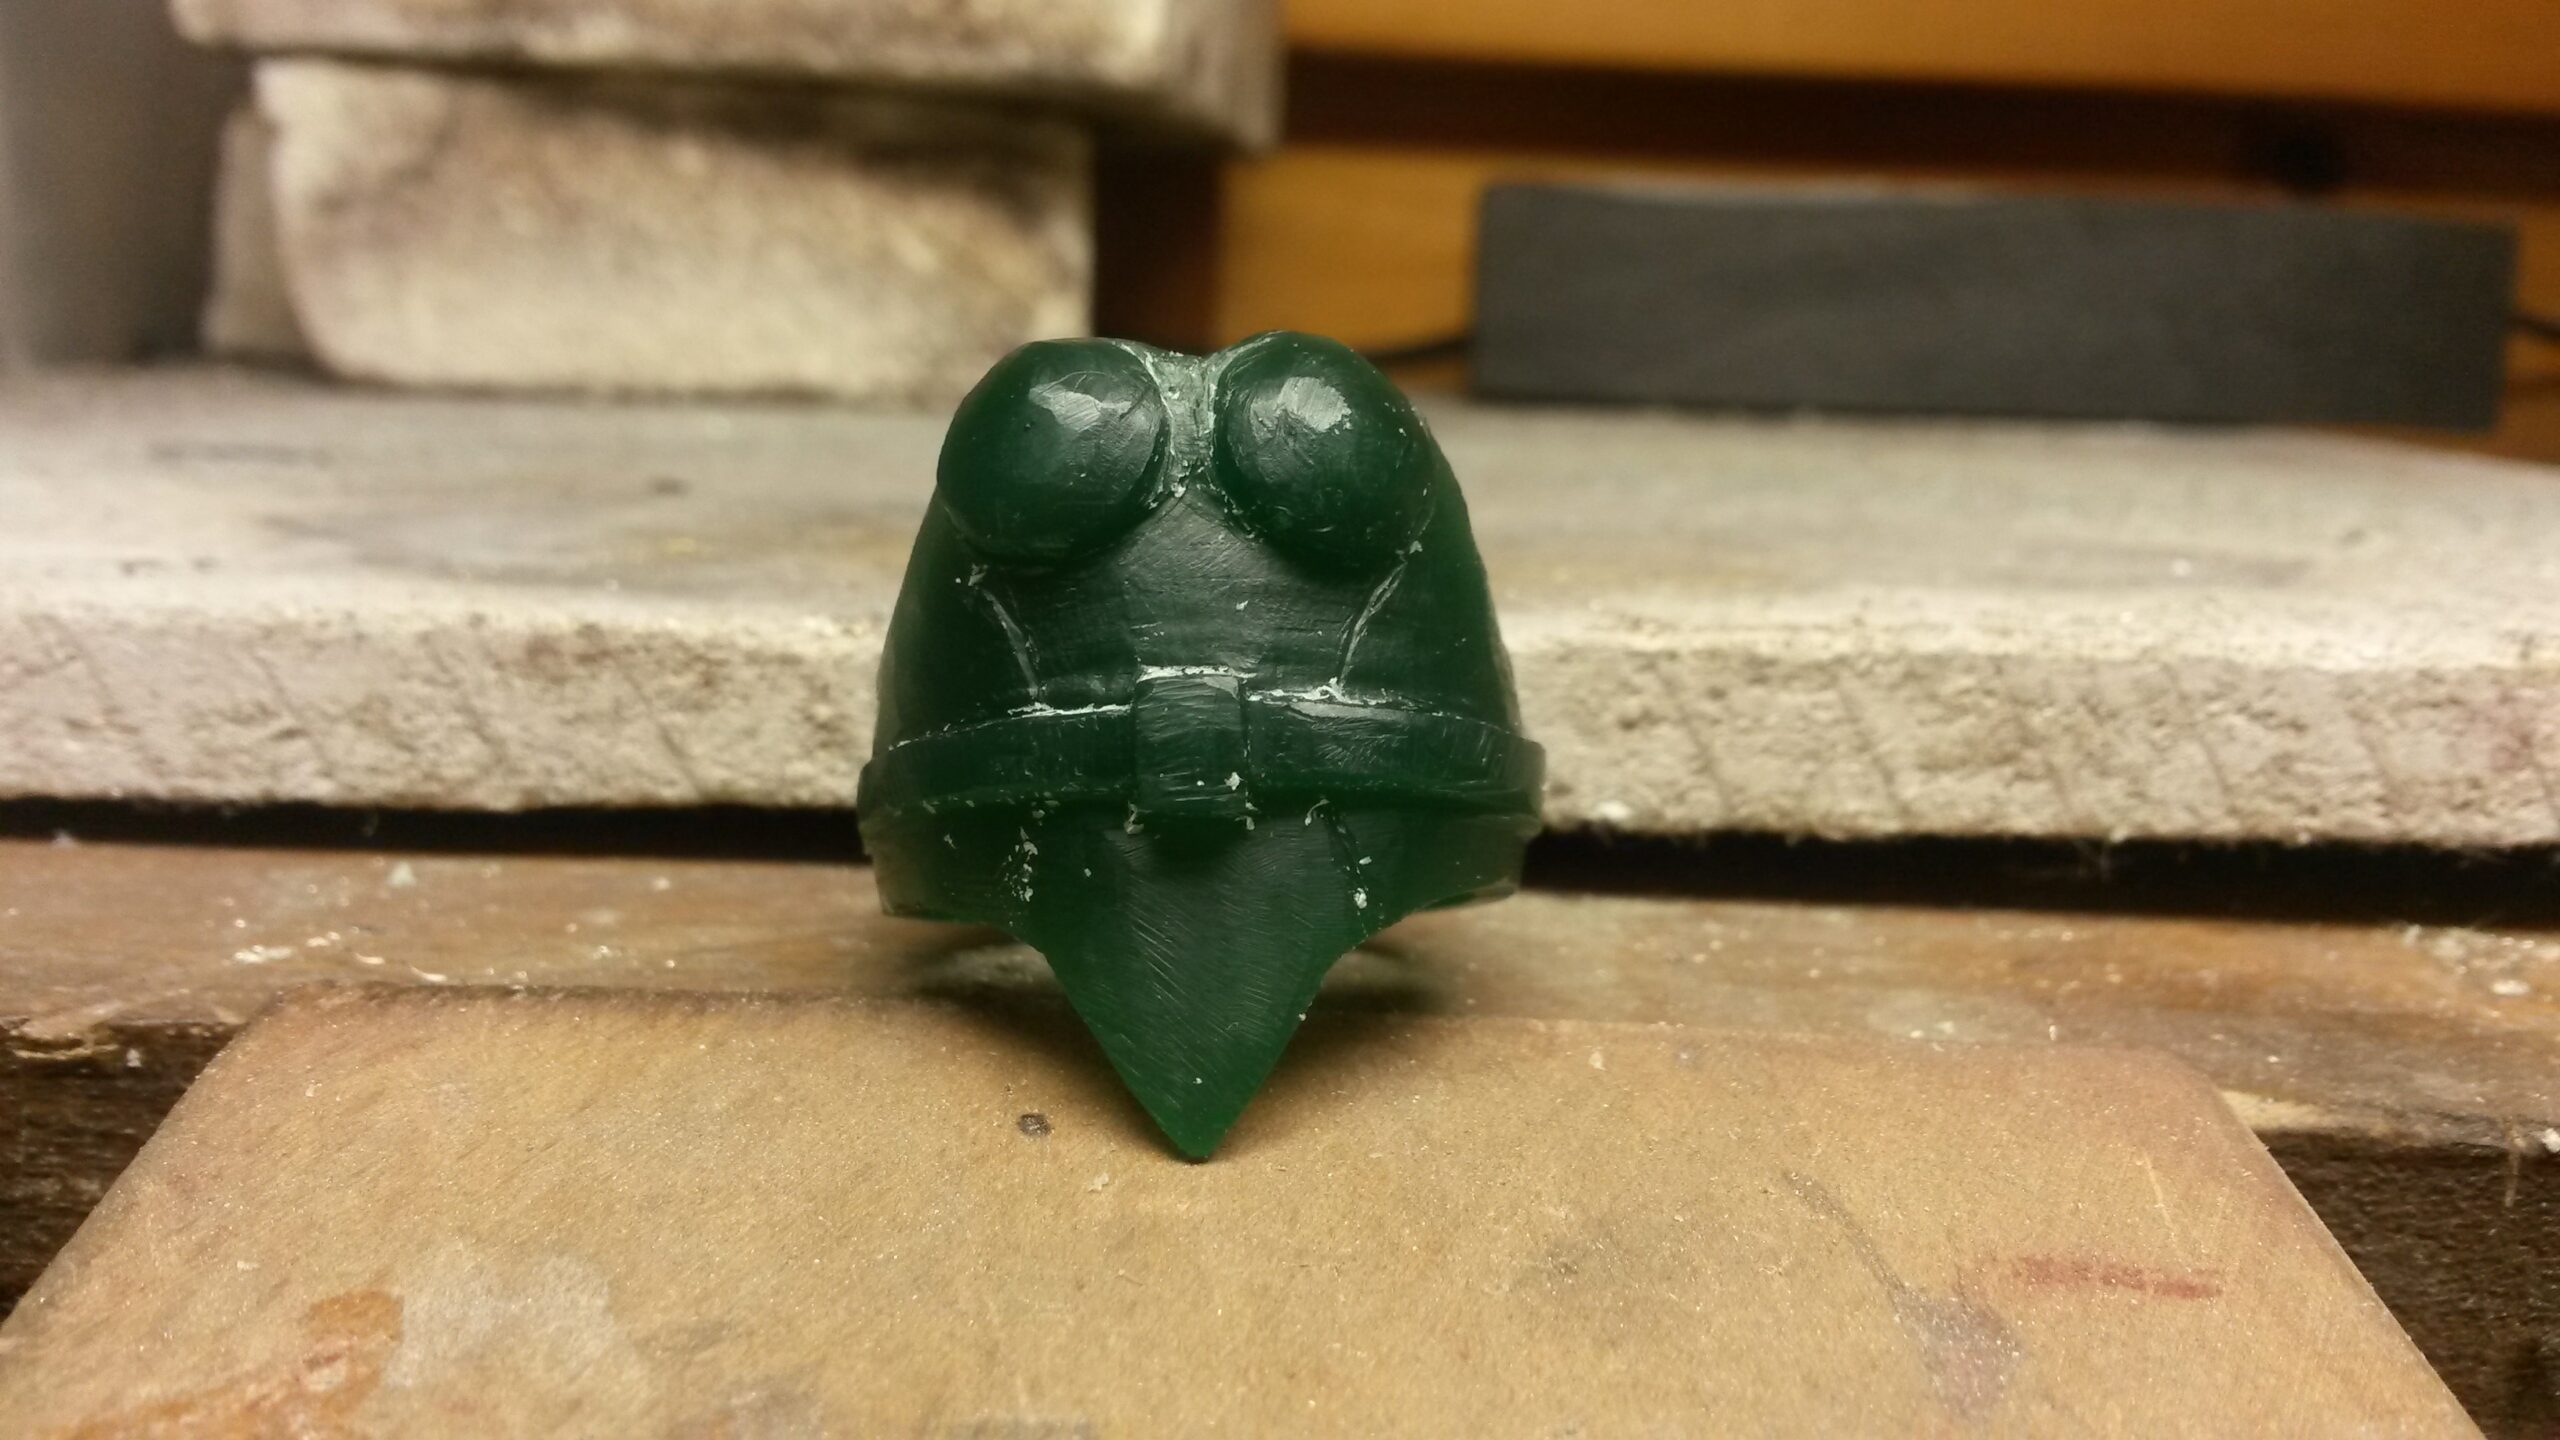
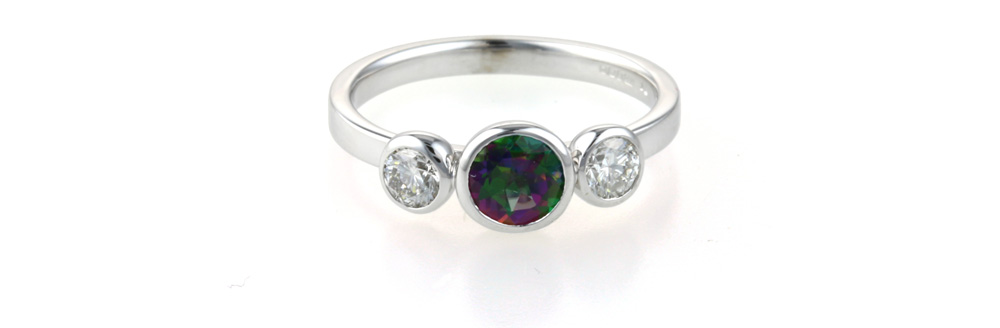
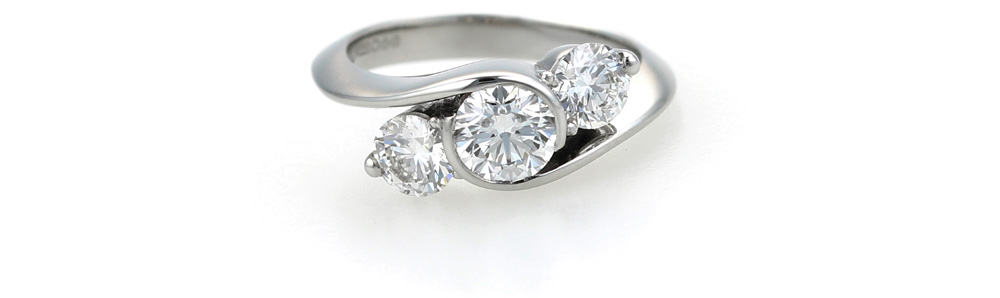
The 4 C’s: colour, clarity, cut and carat weight all contribute to the value of your diamond. The Most enjoyable part of creating a bespoke diamond engagement ring or a diamond pendant for a special birthday would be discussing design ideas and finding out what knowledge of diamonds and jewellery you may have; more often than not people have very little or no know knowledge at all. Your jewellery commission is often the most important piece you are likely to buy, obviously you want the best you can afford. This leaves a daunting prospect with a mind field of information.
At the beginning of the design process I often source diamonds for the customer to view, they can be of different carat weights or different colour and clarity gradings.  You are then able to see for yourself the difference in qualities and which characteristics maybe more important to you. As a standard I use Gsi graded diamonds.

Colour:

The colour of white diamonds are graded colourless to a feint yellow or off white. The colour spectrum of white diamonds begins at D and ends at Z. The majority of jewellers would only use the colour range between D and J. As standard I use the colour G. This is a diamond almost at the colourless end of the scale. If you would like a higher or lower colour grade of diamond I can source these to suit your budget.


Clarity:

This tells you the nature of inclusions that are inside a diamond. There are different terms which tell you what sort of inclusion there are such as “Feather” or “Cloud”. These inclusions are formed at the time of the diamonds creation and not at the time of cutting the stone. The aim is to choose a diamond that you can see as little inclusions in as possible. The scale starts at “FL” (flawless) and ends at “I3” (included3).
As standard I use Si graded diamonds, these are good clean diamonds where inclusions cannot be seen easily with an untrained eye. You may see something with a 10x eye glass if you knew what you were looking for.
If you were choosing a diamond larger than half a carat you may want to think about a Vs or VVS or above clarity grading.


Picture

Cut:

The perfect diamond will be cut to allow the light to enter the top facet (table) and bounce around to exit the stone again through the top facet (table). If the diamond has been cut too shallow or too deep and the light will exit through the bottom of the stone. This will make the diamond appear dull and lifeless. The cut grading is also based on its proportions, symmetry and polish.


Carat Weight

A diamond is measured by its weight rather than its size; a carat being 0.2grams. Charts giving measurements are approximations based on an ideal diamond cut. A carat is sub divided into a hundred points, therefore half a carat could be described at 0.5cts or 50points. The larger the diamond the quicker the diamonds value increases as larger carat weights are much more rare to find.

Picture


Other useful reading:
GIA (gemological institute of America)
GemologyOnline