
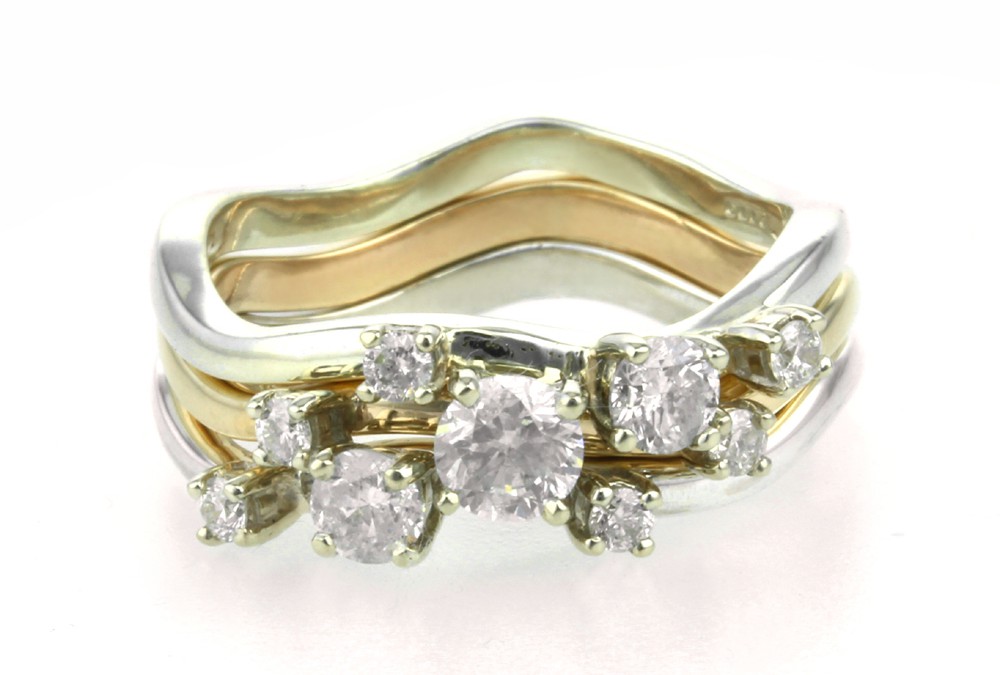
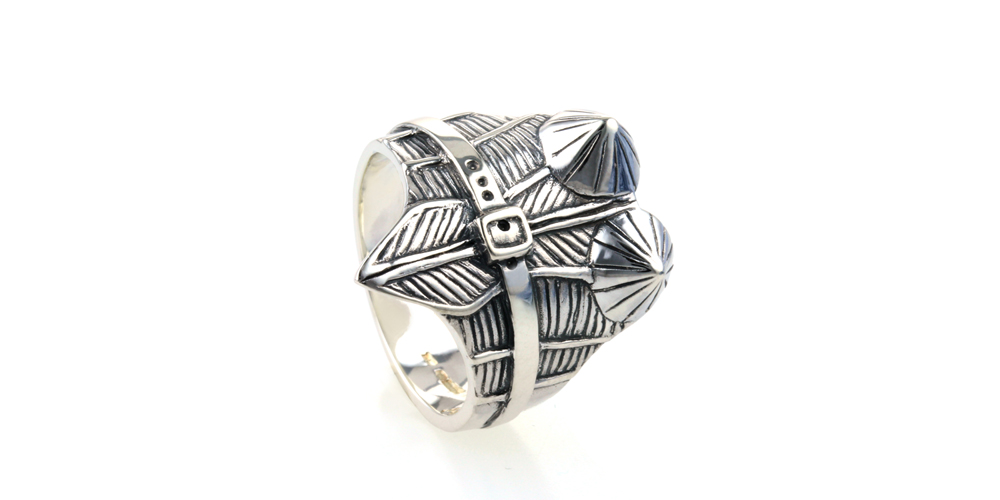
Remodelling 22ct Gold Into Two Complementing Handmade Wedding Rings
The task for this commission of handmade wedding rings was to create two designs using the 22ct yellow gold in each ring and 9ct white gold in the ladies ring given to them by their families. Both rings had to make use of the 22ct gold in a minimalist way with the white metal being the most prominent feature of each wedding ring. The ladies ring had to fit neatly next to the engagement ring and the gents ring preferred a darker and textured white metal so platinum was decided.

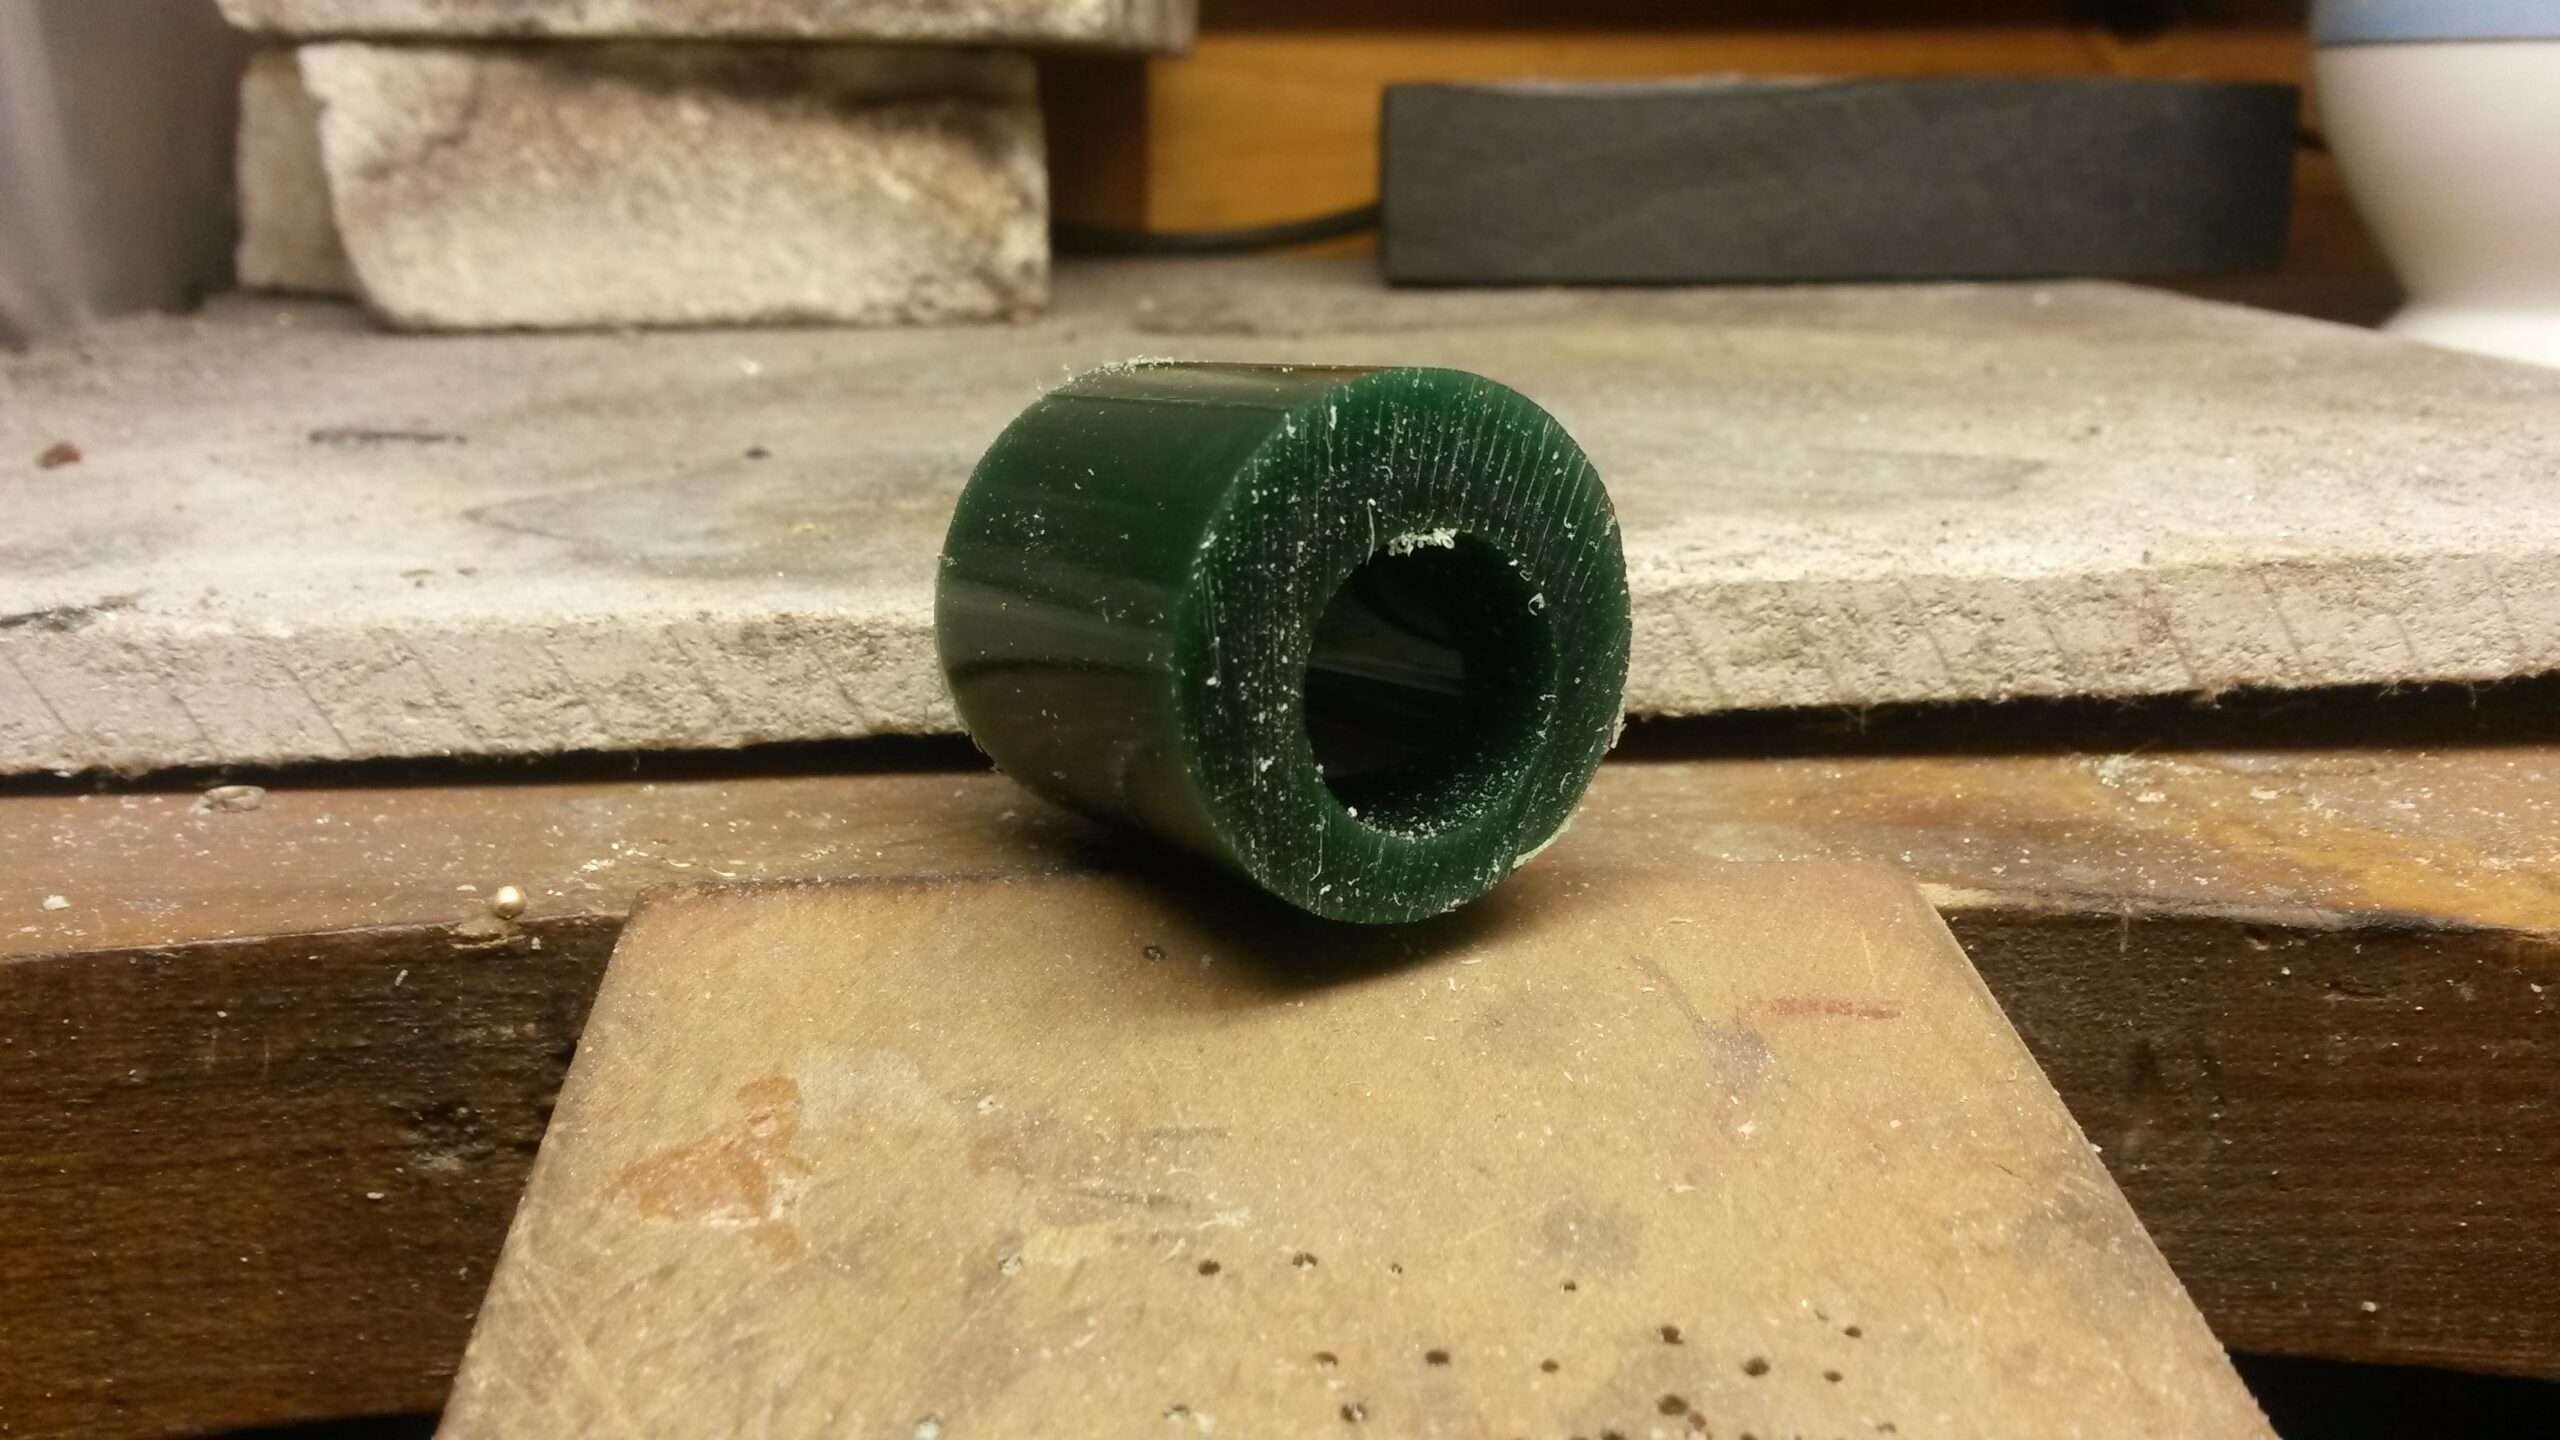
The CAD design for the gents ring, with a textured platinum band inlayed with 22ct yellow gold on the inside.
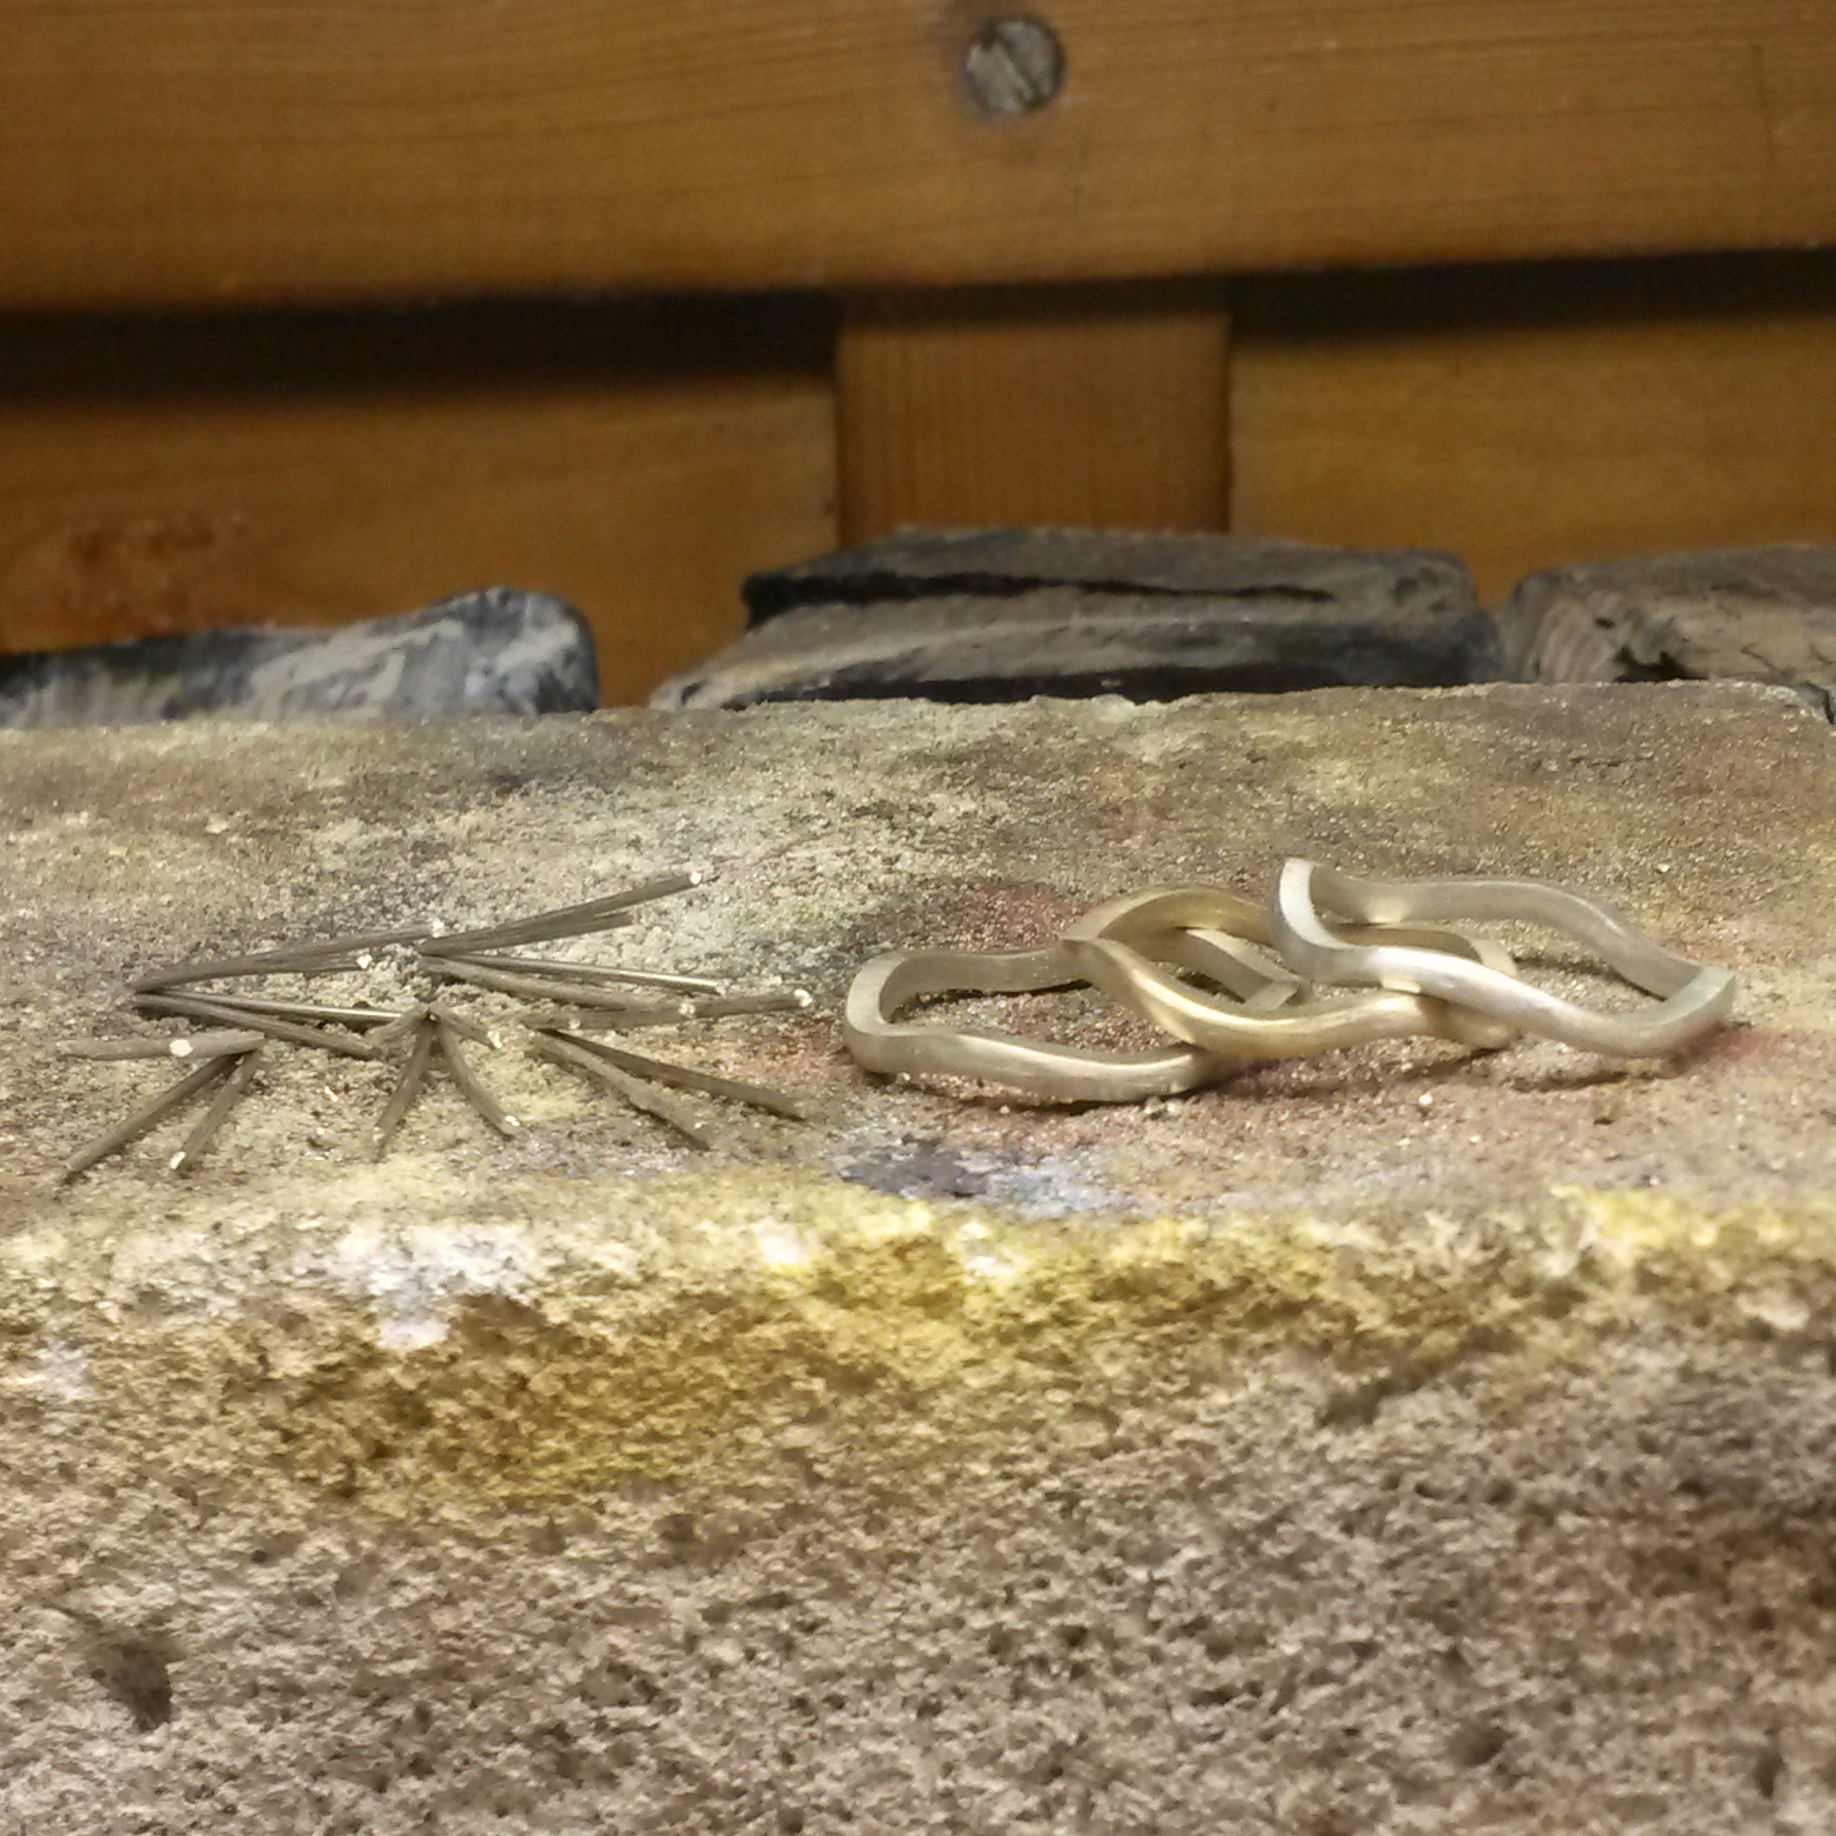
The three original rings ready to be melted down and remodelled into their new designs.
|

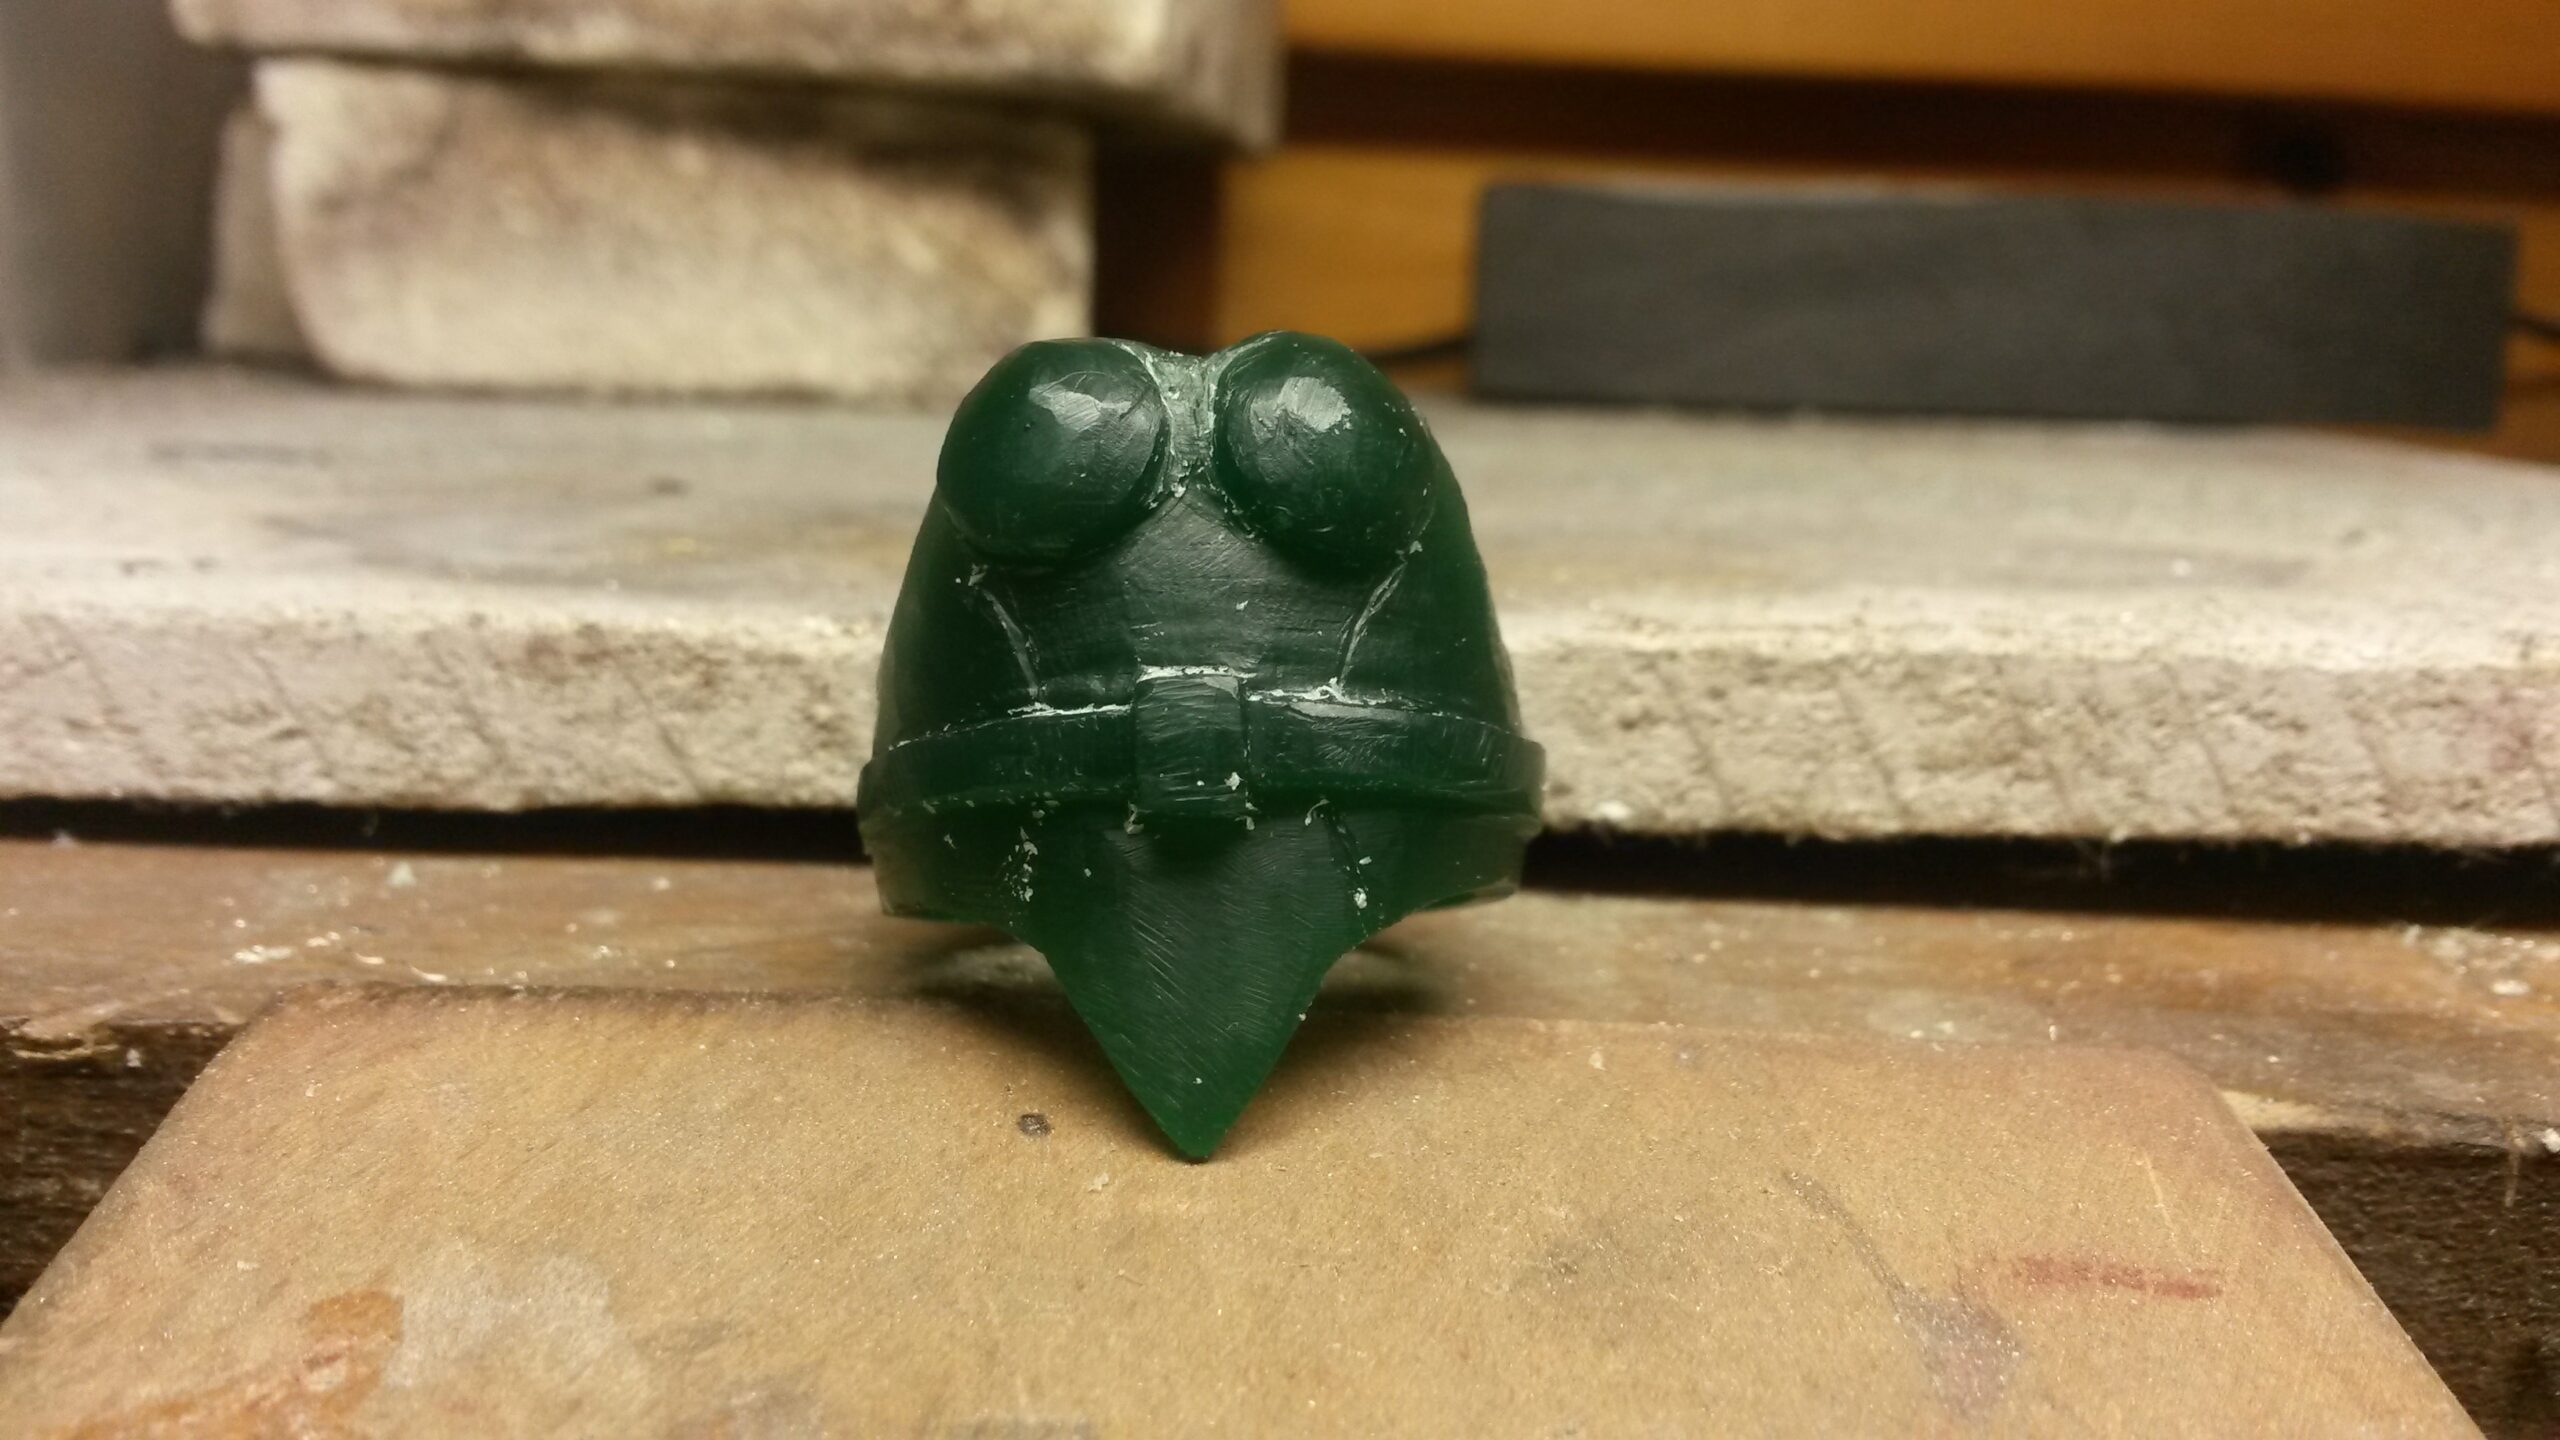
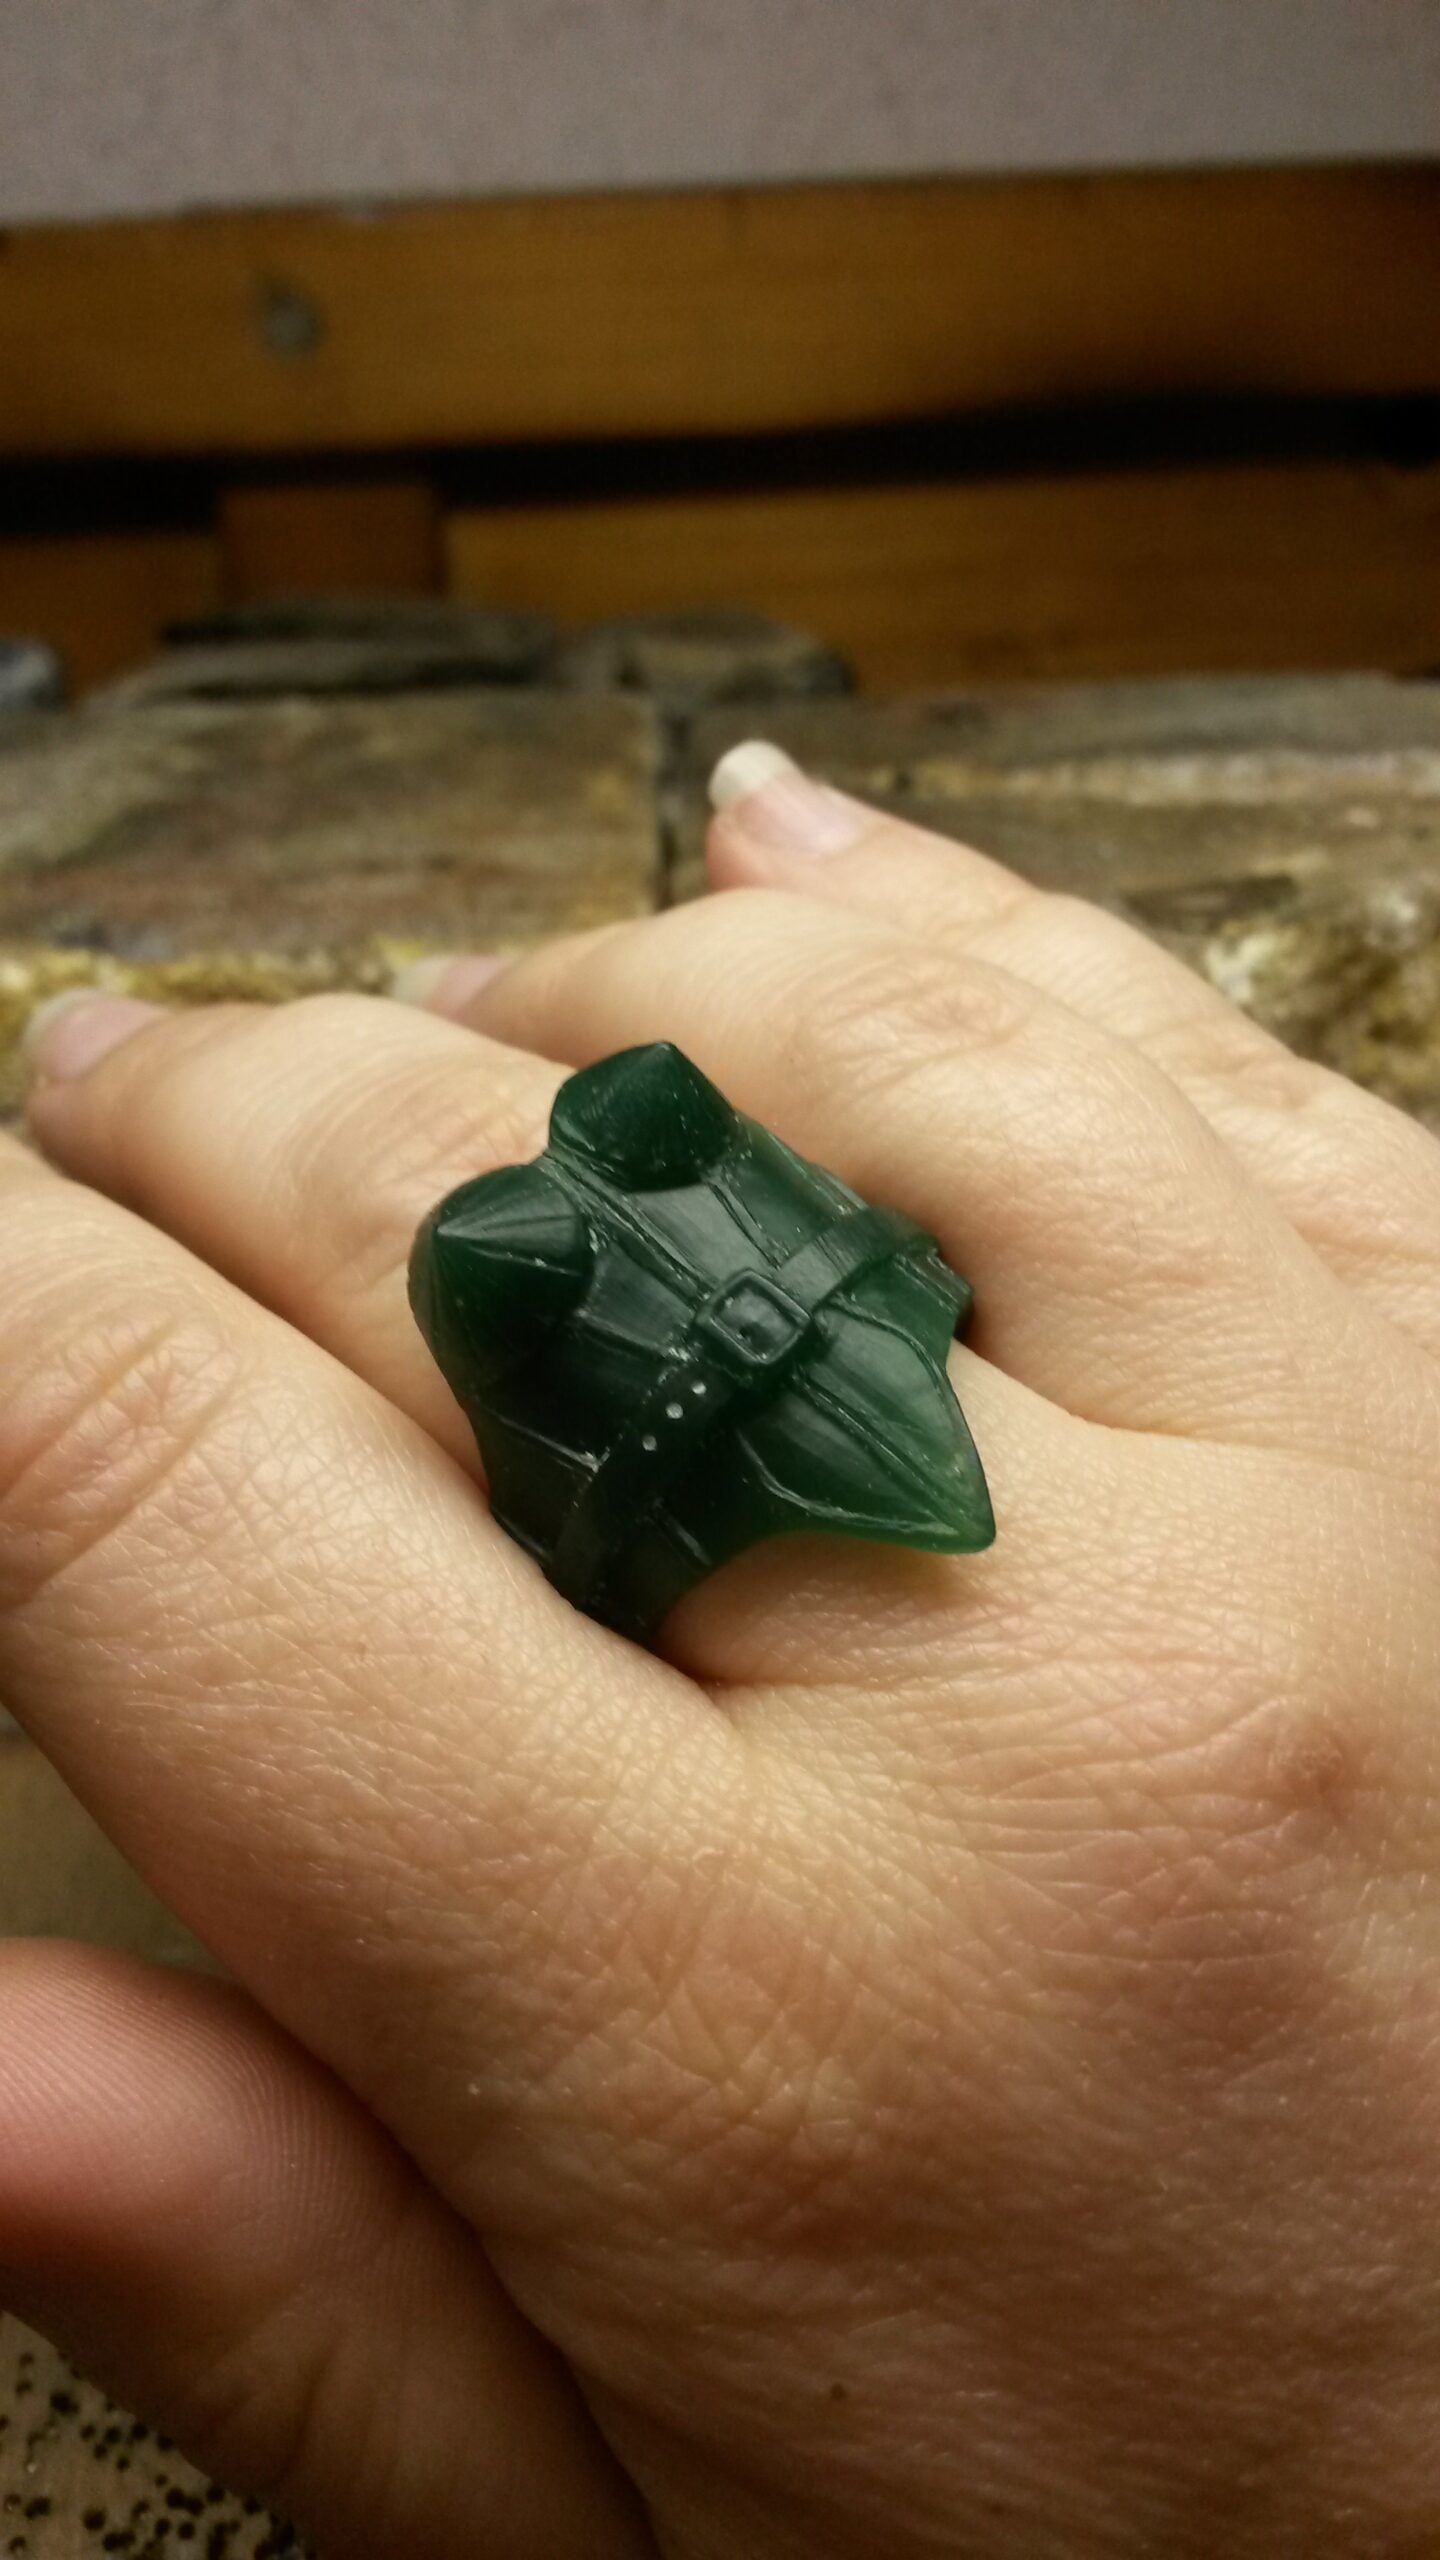
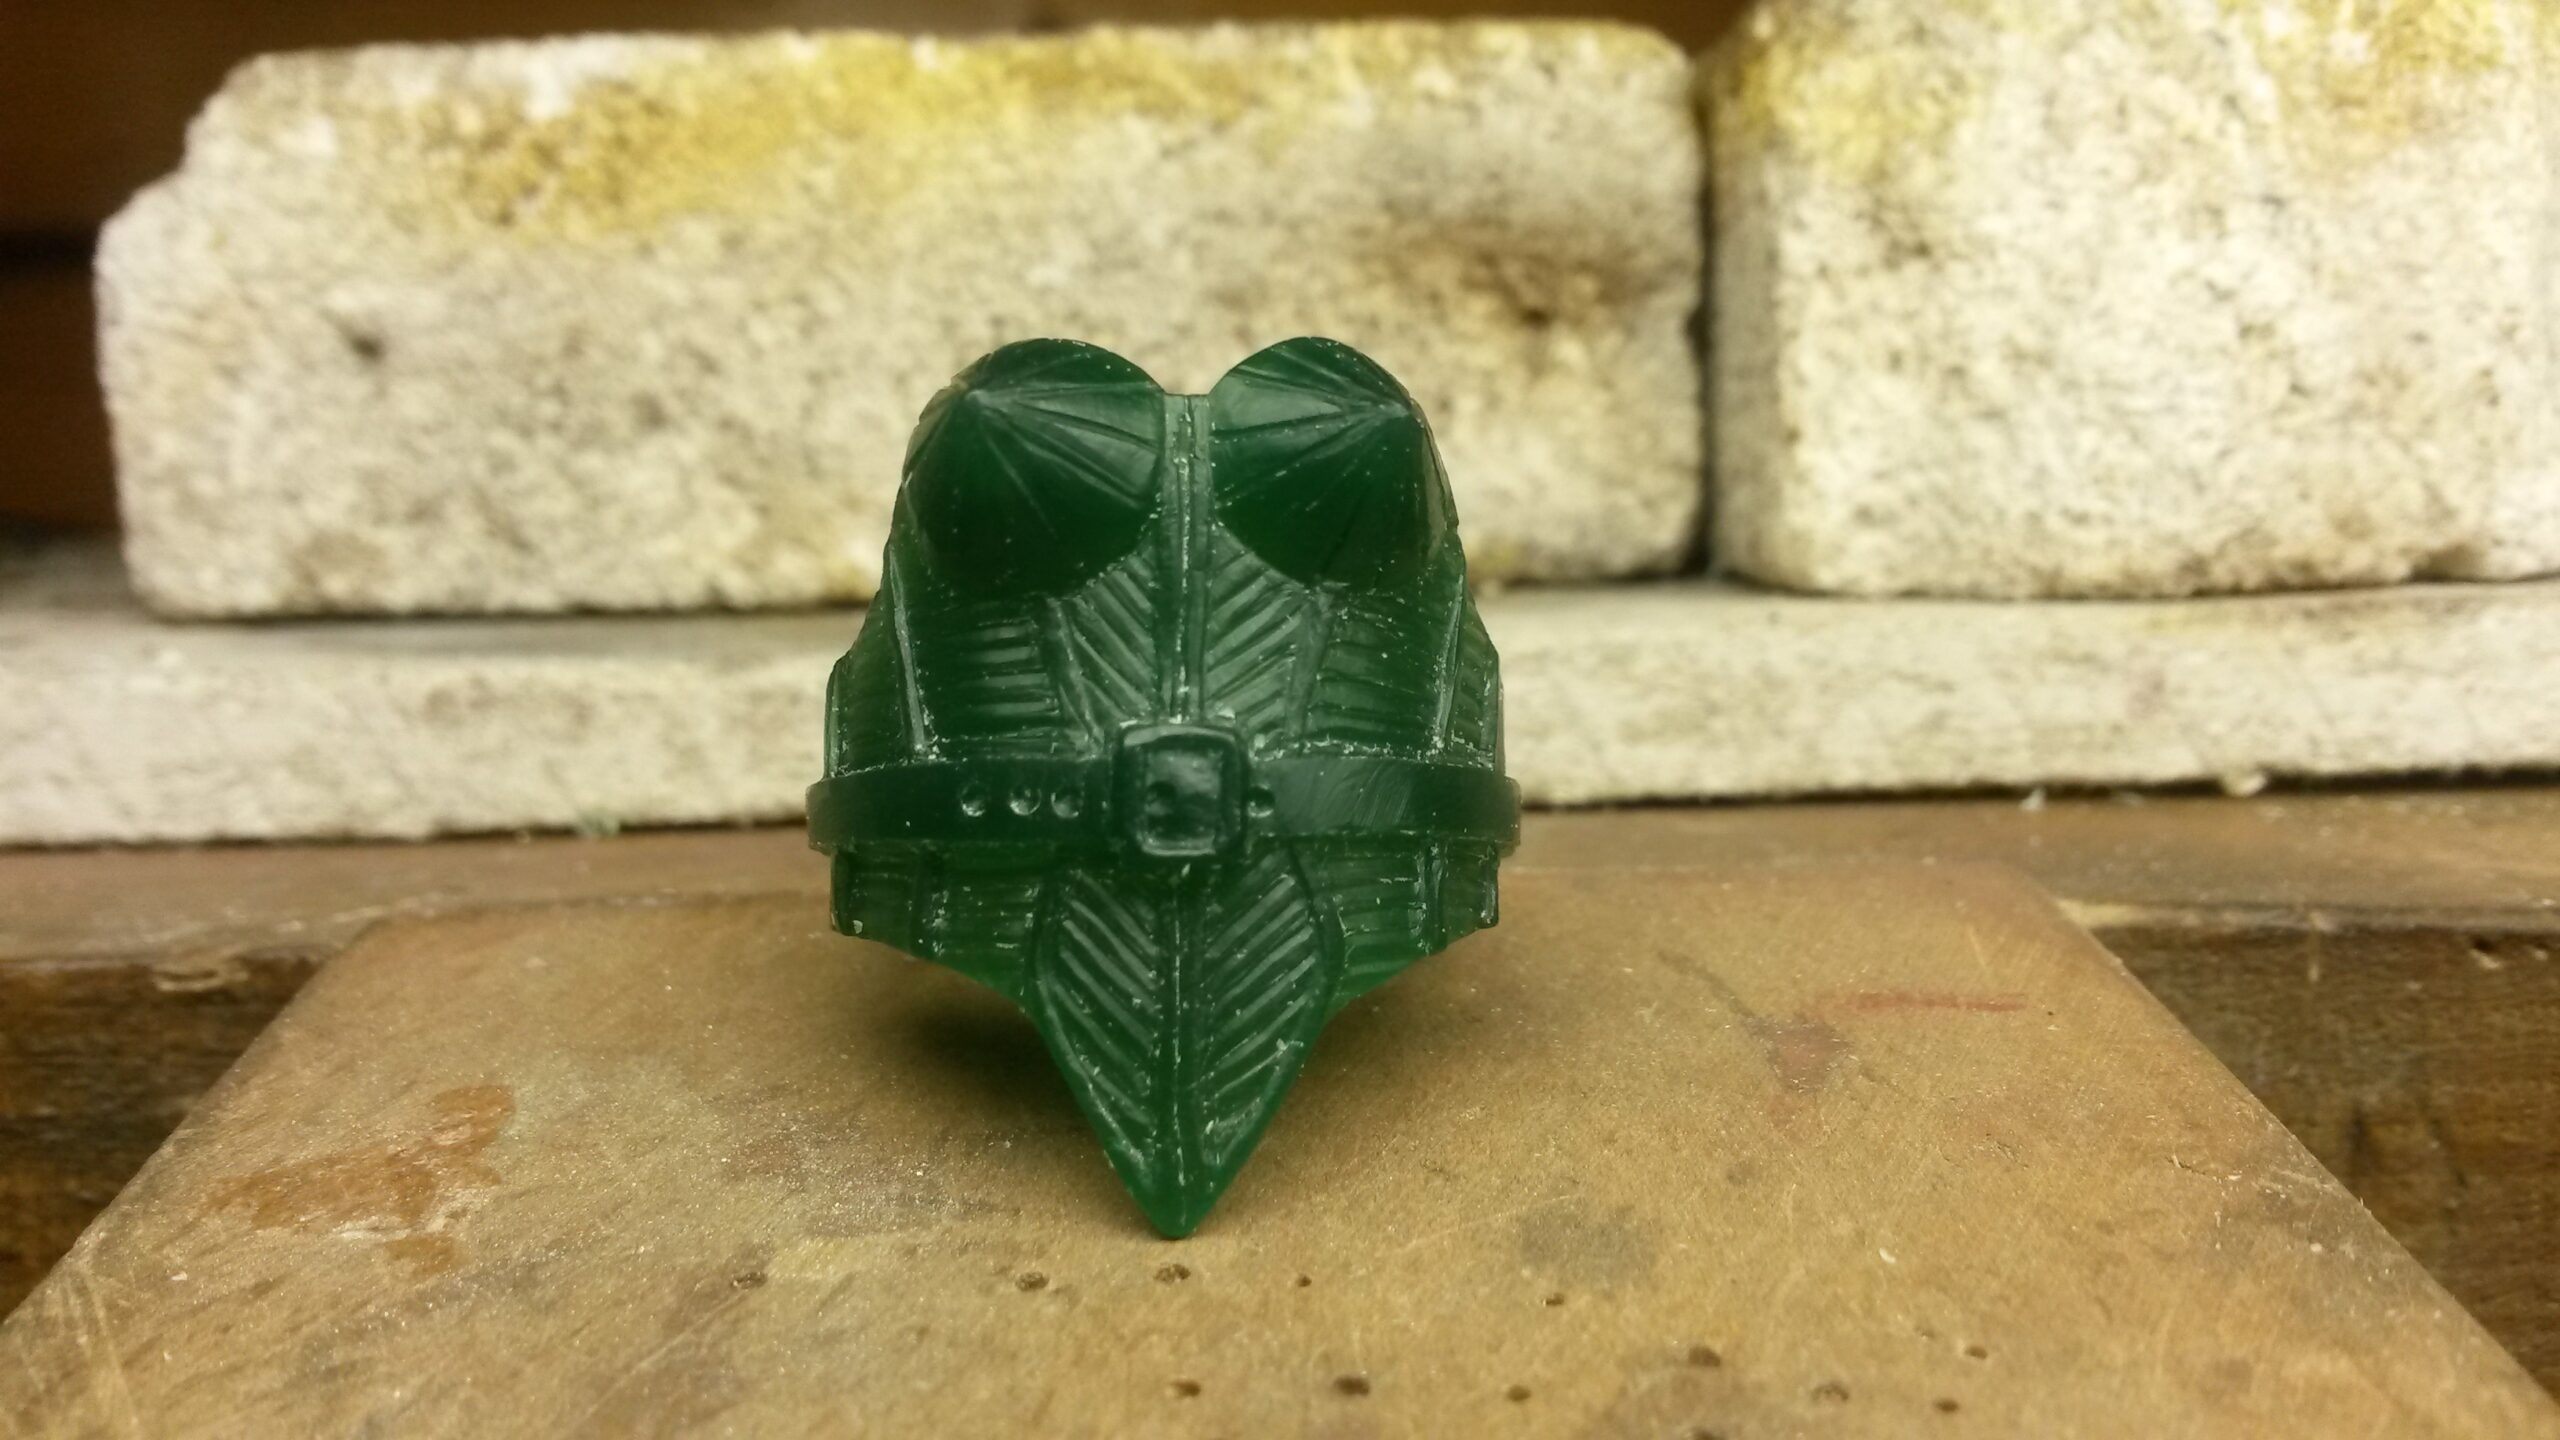
The CAD design for the ladies wedding ring. Two D section rings fitting together whilst sweeping around the engagement ring creating a perfect fit.
Each ring being melted down in a crucible using a large flame on a blow torch.
|


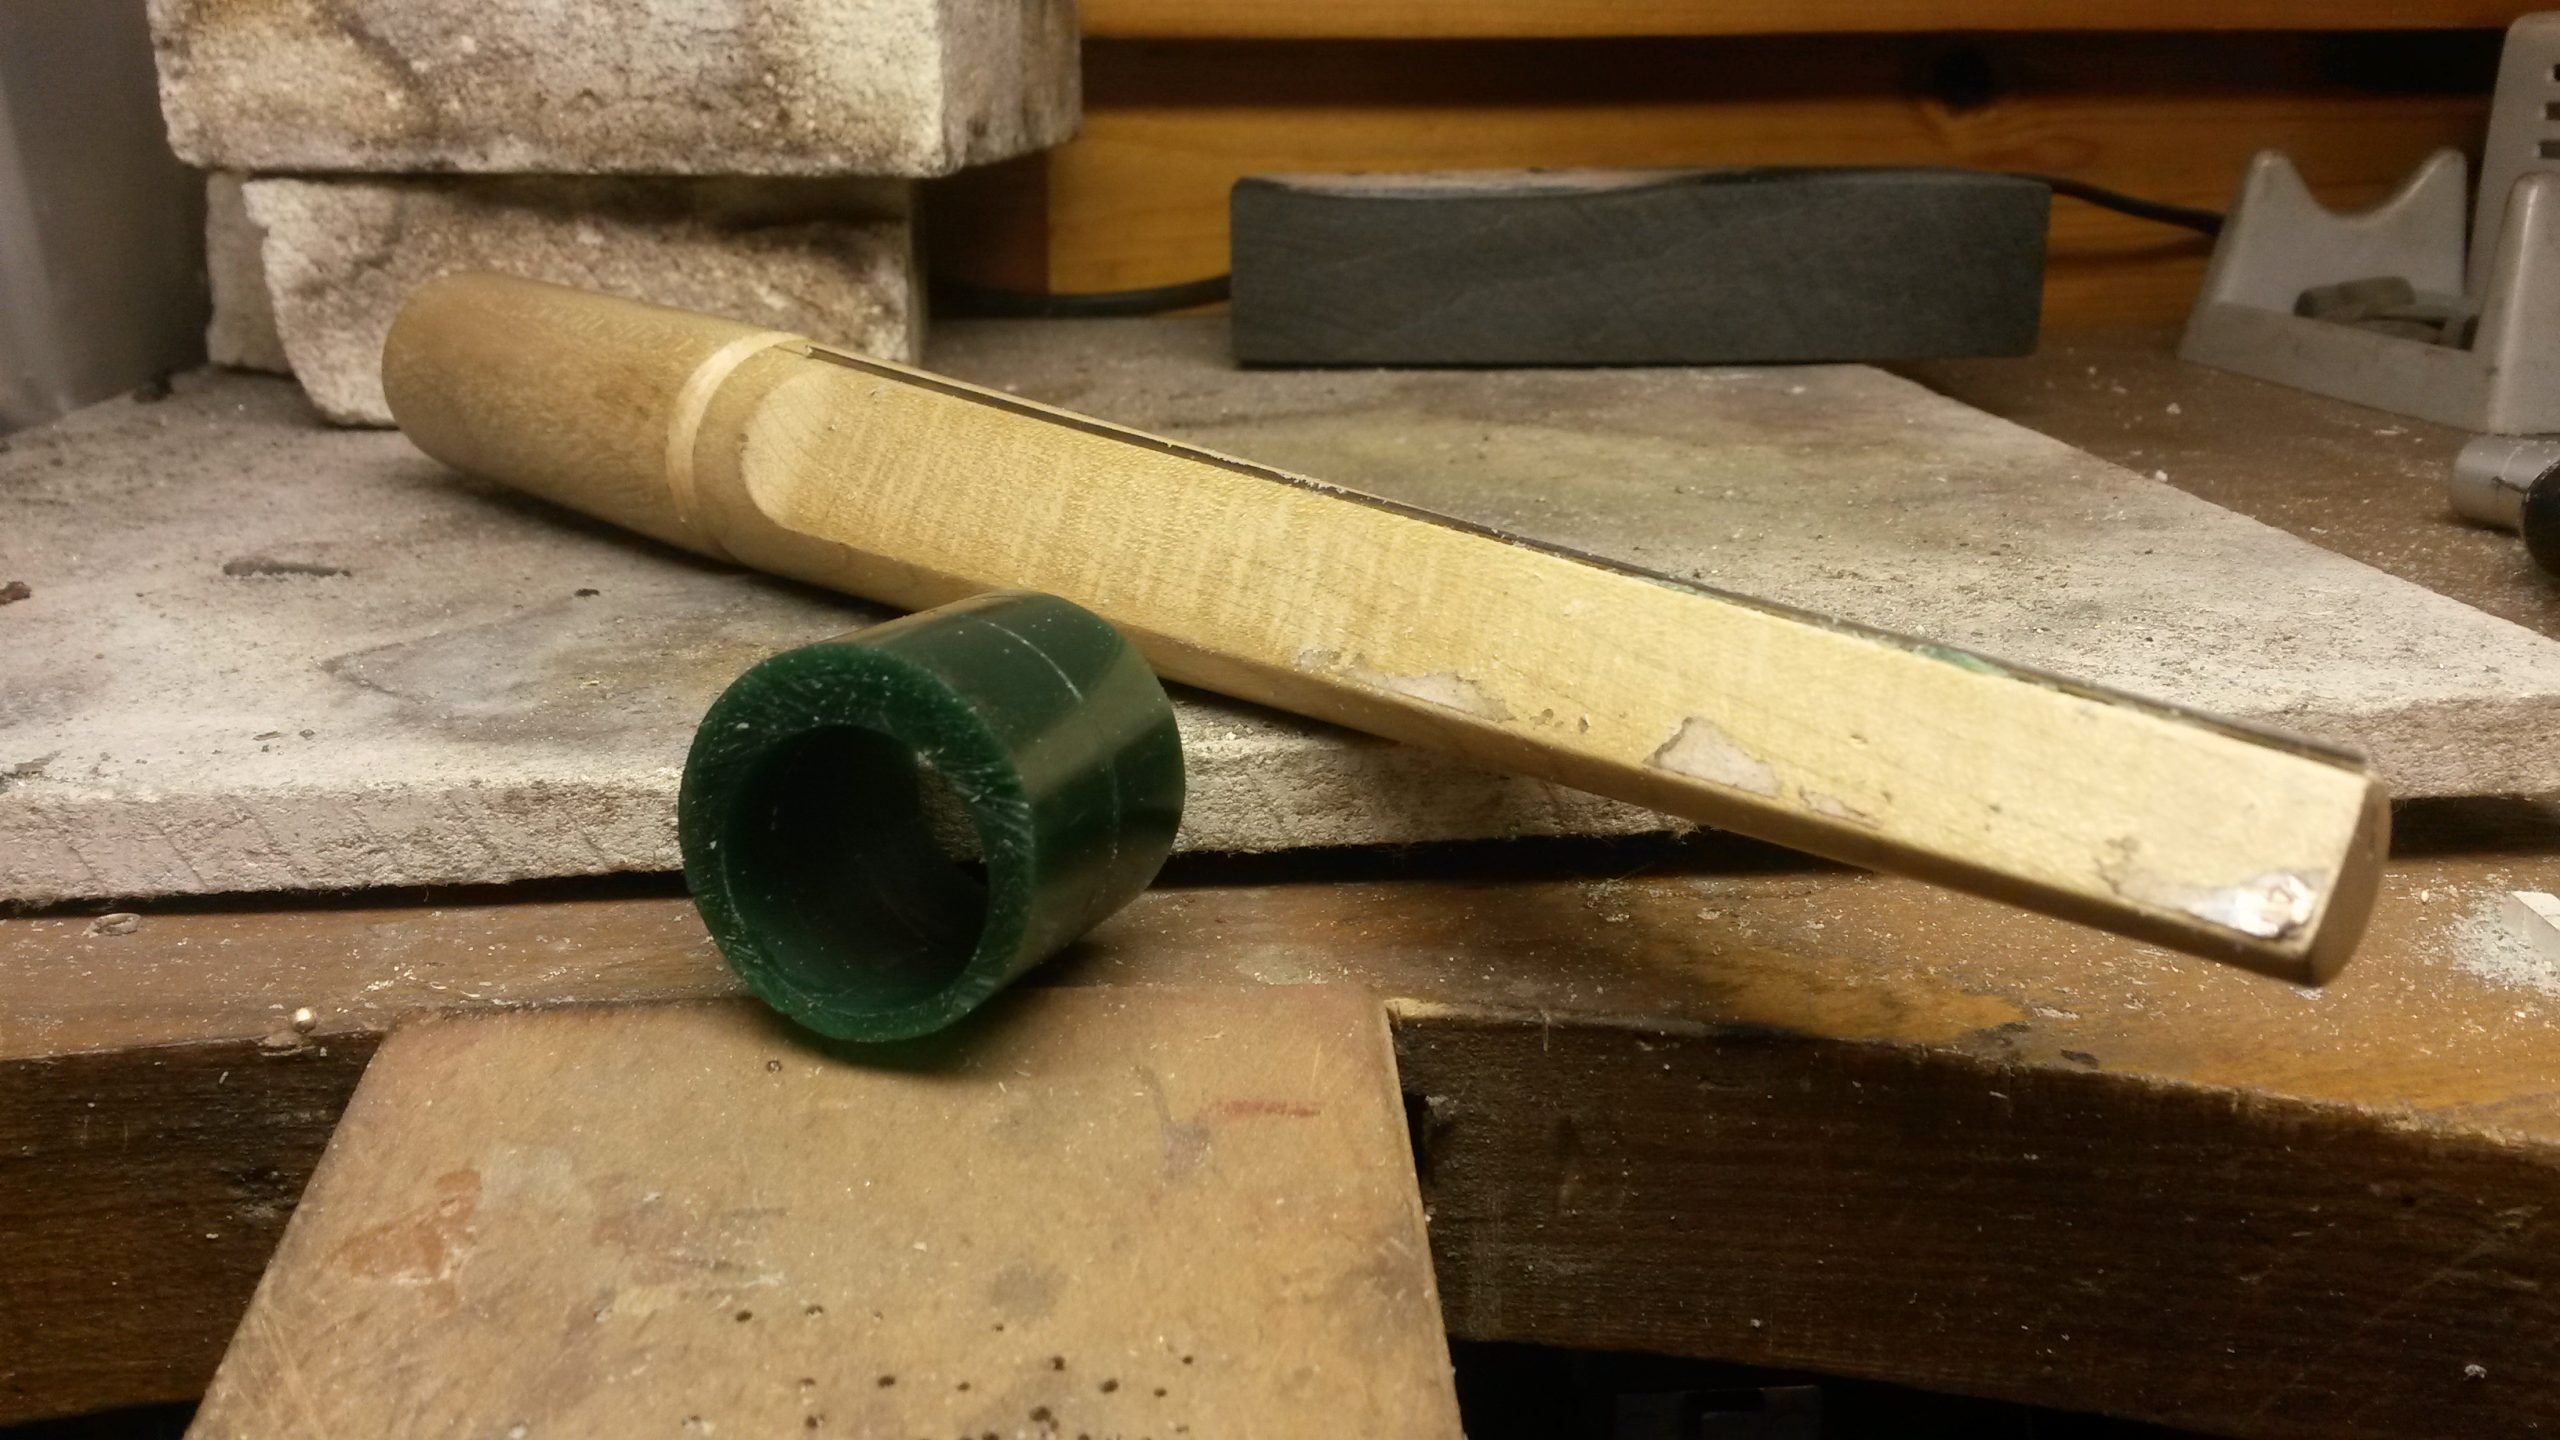
Once each ring has been melted down it is rolled into the required shape; D section for the ladies ring and flat for the gents ring.

Once each band had been rolled to required length and width they were then turned into a ring and soldered. The 22ct gold was made to size with the platinum band tightly fitting over the top. The 22ct ring then hammered to take the shape of the court platinum ring and holding together with tension.
Each ring was then ready to be hallmarked and finished with a polished and/or matt finish.
Each ring was then ready to be hallmarked and finished with a polished and/or matt finish.
|
|
|


Hope you enjoyed my wedding rings in the making, please feel free to leave a comment here or on one of my social network accounts above, I’d love to hear from you. Alternatively if you would like your own pice of jewellery designed, take a look at my jewellery commission page.


Recent Comments